Diagnosis
Create an invoice or an estimate
Price a job line by line or as a flat total, reuse the parts from the report, and export the document as an invoice or an estimate PDF.
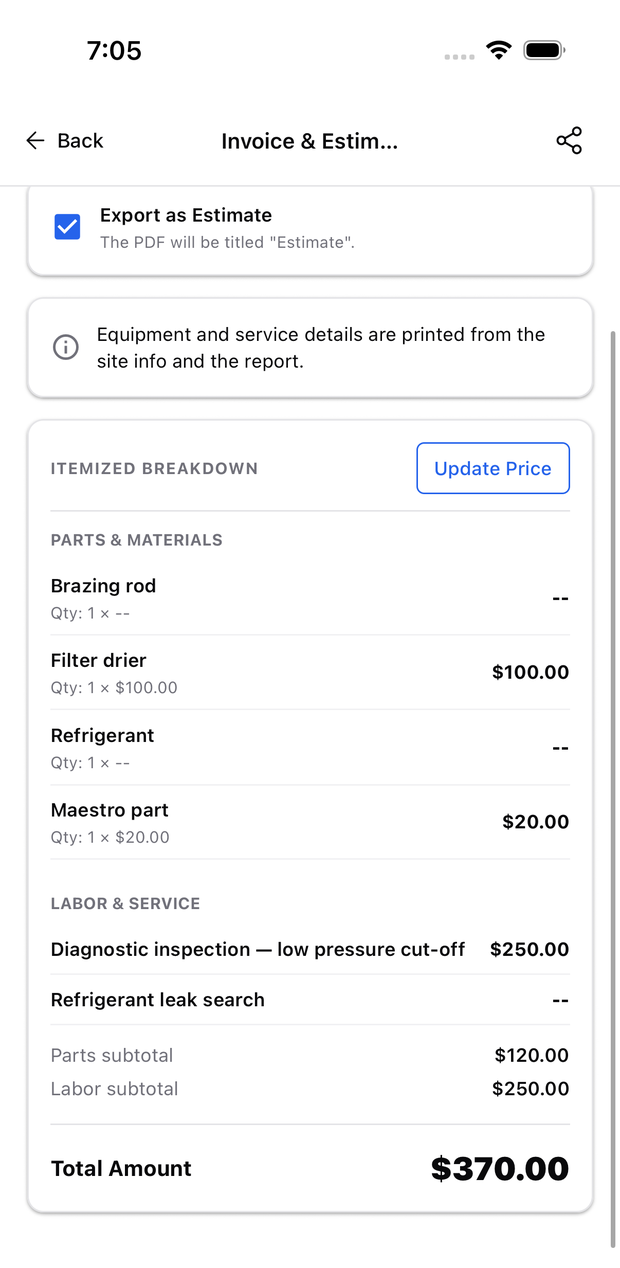
The invoice lives beside the diagnosis report on the Job Documents hub and prints from the same job details. Parts and materials you recorded in the report are already on it.
Open the invoice
- Open the diagnosis and select Job Documents.
- Select Invoice & Estimate.
- Select Update Price to start entering amounts.
From inside the invoice you can switch to the report using the tabs in the header.
Price it line by line
Choose the itemized breakdown when the customer expects to see what each part and each hour cost.
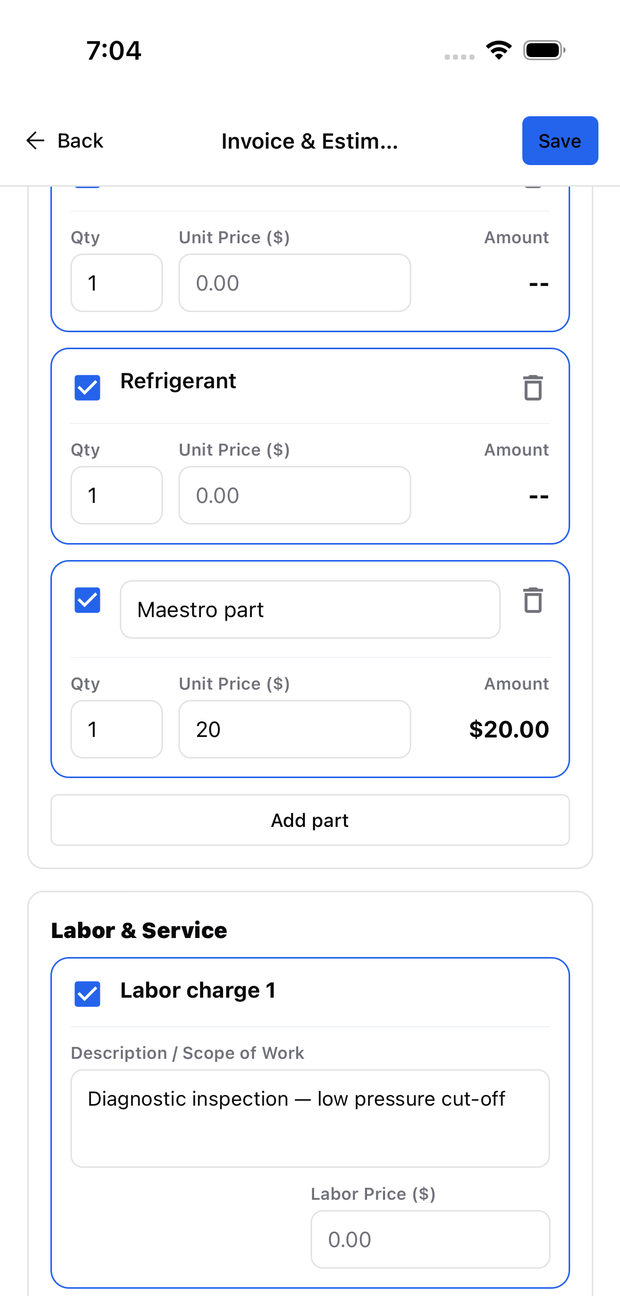
- Parts from the report are listed already. Set Qty and Unit Price on each one.
- Use Add part or Add labor for anything the report did not capture.
- Untick a line to leave it off the invoice without deleting it, or use the bin icon to remove it.
- Each labor charge takes a description, so the customer can see what the hours were for.
Subtotals for parts and labor are calculated for you, along with the total.
Or charge one flat total
Choose the flat rate when you quote the job as a single number.
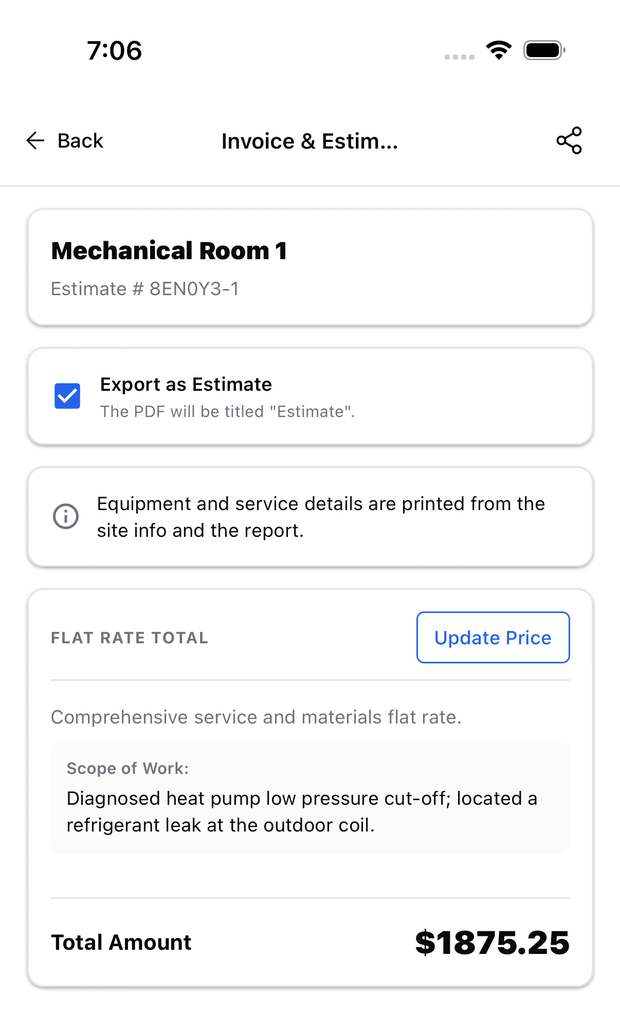
Enter the amount and a short scope of work. Your parts and labor lines are kept — switching back to the itemized breakdown brings them back with their prices.
Export as an invoice or as an estimate
Tick Export as Estimate to have the PDF titled “Estimate” instead of “Invoice”. Everything else about the document is the same, so you can quote a job, then untick the box and send the same document as the invoice once the work is done.
Share the PDF
- Save your changes.
- Tap the share icon in the header.
- Use your phone’s share options to email it, message it, or save it.
The PDF prints the invoice number, the bill-to and service address from Site Info, the parts and labor, the subtotals, the total, the work performed, and any warranty terms you attached.
[!NOTE] The share icon is hidden while you are editing the invoice, so a PDF can never go out with unsaved values on it. Save first, then share.
If a price looks wrong on the PDF, check that the line is ticked and that Site Info has the right customer and address.
Related
Need support?
Email ACLogics with the issue details.
Include the account email, device model, app version if known, screenshots, and the exact message shown.